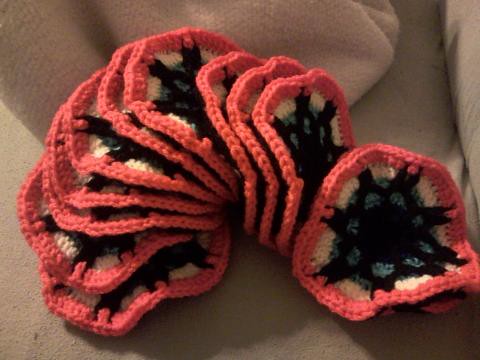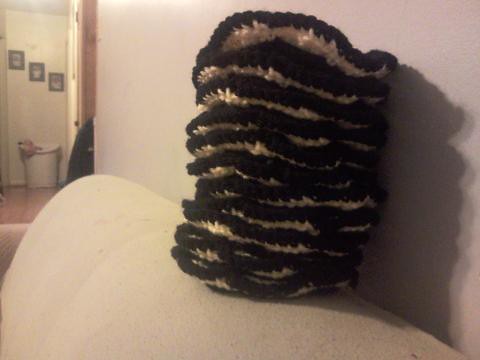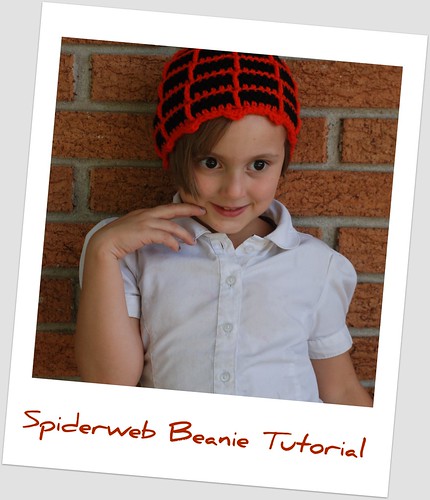
Are you getting ready for Halloween? We are in the planning stages on costumes... trying to break out of dressing all three girls the same. But you can't be in costume every day - unfortunate, isn't it? - so you have to sneak in some spookiness where you can.
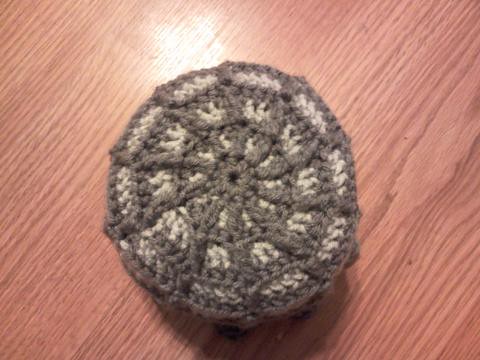
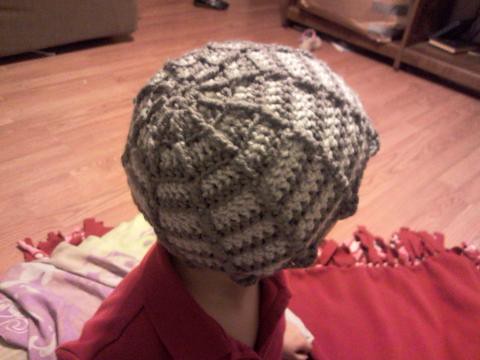
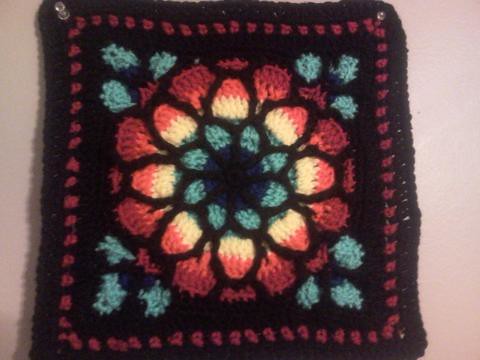
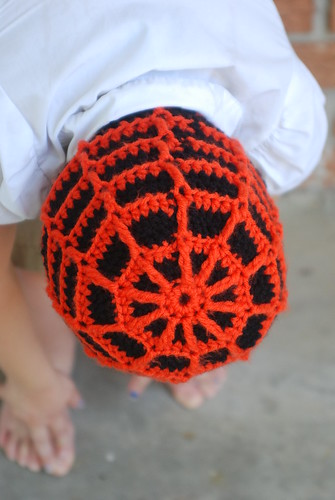
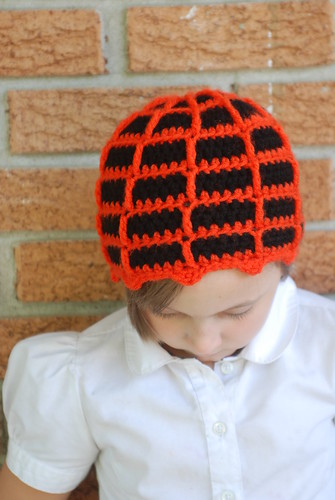
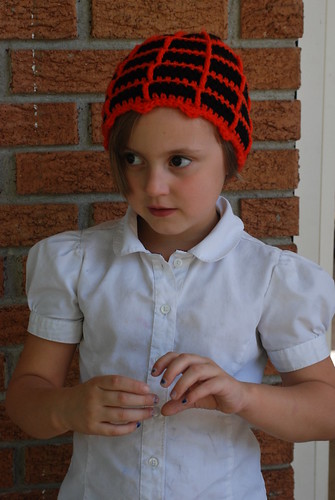
If it's getting chilly in your neck of the woods (sadly, not in mine), here is a spooky spiderweb hat that will help your little one keep the Halloween spirit when they can't run around in your Spiderman costume. (Or yourself, if you know how to enlarge a child-sized pattern) In fact, this might make a cool part of a Spiderman costume if you do it in red and blue. And you could do it in a single color if you just like the texture of it and want to wear it throughout the chilly seasons.
I would consider this an intermediate skill pattern. It might be a little much for a beginner. But give it a try... you can't expand your skills if you don't try. =)
On some rows, you will be crocheting in the back loops only. Normally, when you make a crochet stitch, you slip your hook between both loops on the previous row. Crocheting in the back loops only (BLO) leaves the front loops free and we will be using some of those.
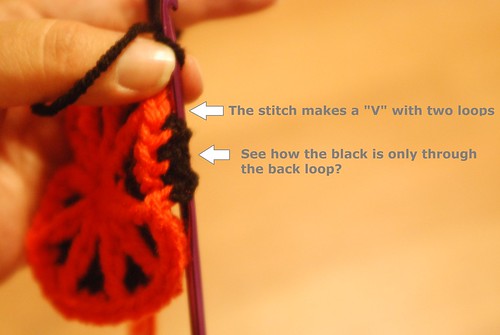
On some rows, you will be making a TC down to a previous row. If you are a tight crocheter, you will need to concentrate on making these loose or you will end up with a bunched up hat. Maybe keep a hook handy a few sizes bigger, if need be.
You can fasten off for each color change, or carry your yarn up to the next row of that color. I prefer to just carry the yarn up on things like this where it won't show. But it's your preference.
 Supplies:
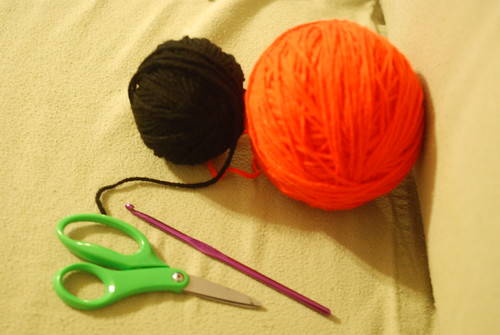
Worsted weight yarn in two colors (I chose black and orange)
H hook or your usual trusty beanie-making hook
Scissors
Join all rows with a slip stitch in the first stitch.
Make a magic ring or ch4 and join in ch farthest from the hook to form a ring.
Row 1: (in web color - WC) ch1, 10 hdc in ring
Row 2: (in background color - BC) ch1, 2 hdc in back loops only (BLO) in each st around
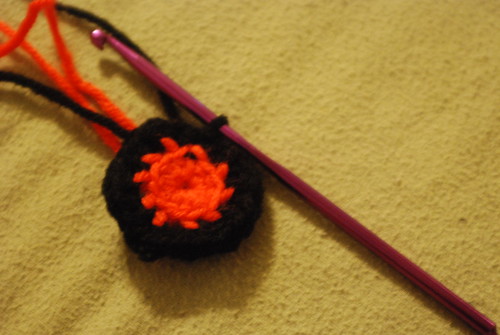
Row 3: (BC) ch1, *1 hdc, 2 hdc in next stitch, rep from * around
Row 4: (WC) ch1, *3 hdc, tc in front loop of Row 1 stitch**, rep from * around
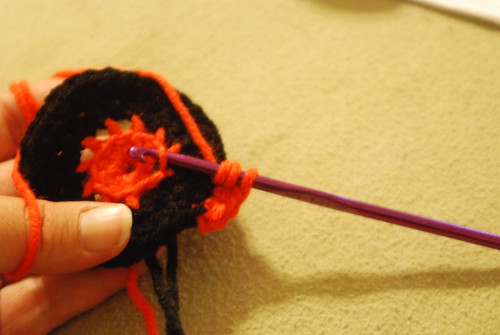 **yo twice, draw up yarn through the front loop on previous round and
work tc loosely. The tc should lay on top of the two previous rows
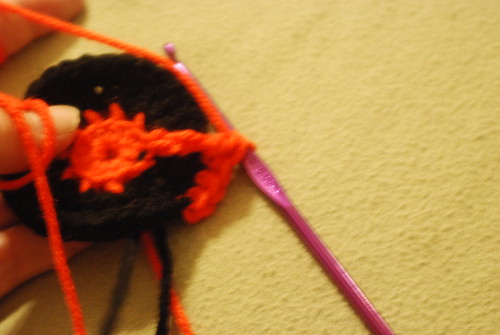
Row 5: (BC) ch1, in BLO - *3 hdc, 2 hdc in next stitch, rep from * around
Row 6: (BC) ch1, *4 hdc, 2 hdc in next stitch, rep from * around
Row 7: (WC) ch1, *5hdc, tc in front loop of tc on Row 4, skip next stitch on working round, rep from * around
Row 8: (BC) ch1, hdc BLO around
Row 9: (BC) ch1, hdc around
Row 10: (WC) ch1, *5hdc, tc in front loop of tc on Row 7, skip next stitch on working round, rep from * around
Row 11: (BC) ch1, hdc BLO around
Row 12: (BC) ch1, hdc around
Row 13: (WC) ch1, *tc in front loop of tc on Row 10, skip next stitch on working round, hdc in next 5 stitches, rep from * around
Row 14: (BC) ch 1, hdc BLO around
Row 15: (BC) ch 1, hdc around
Row 16: (WC) ch1, hdc, *tc in front loop of next tc on Row 10, skip next
stitch on working round, hdc in next 5 stitches, rep from * 9 times, tc in front loop of next tc on Row 10, skip next stitch on working round, hdc in next 4 stitches.
Row 17: (BC) ch 1, hdc BLO around
Row 18: (BC) ch 1, hdc around
Row 19: (WC) ch1, hdc in first 2 stitches, *tc in front loop of next tc on Row 16, skip
next
stitch on working round, hdc in next 5 stitches, rep from * 9 times, tc
in front loop of next tc on Row 16, skip next stitch on working round,
hdc in next 3 stitches.
Row 20: (BC) ch 1, hdc BLO around
Row 21: (BC) ch 1, hdc around
Row 22: (WC) ch1, hdc in first 3 stitches, *tc in front loop of next tc on Row 19, skip
next
stitch on working round, hdc in next 5 stitches, rep from * 9 times, tc
in front loop of next tc on Row 19, skip next stitch on working round,
hdc in next 2 stitches.
Row 23: (WC) sl st to first tc, *(hdc, dc, hdc) in stitch, sl st next 5 stitches, rep to end. Fasten off and weave in ends.
Happy Hooking!

