The best thing about this is that you can use this for more than just the Punk Monkey. You can use this technique to put hair on an amigurumi project... to make a wild mohawk hat out of any basic beanie... to put fringe on a scarf or other project... so it's versatile. =)
You can use any yarn you like, of course, but remember the effect will be different depending on the yarn. For mohawks, I prefer a bulky yarn like this:
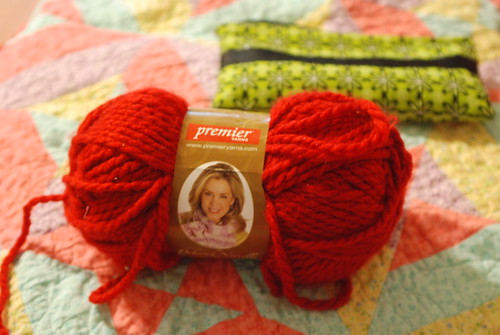
Worsted weight yarn will work, but you'll have to use much more to make it look full and you'll need to keep the mohawk pretty short to make it spiky. I also like bulky yarn because you can do other things with it that I'll show you at the end.
In addition to yarn, you'll need scissors and a crochet hook... the one you made the beanie with will be fine, but size doesn't matter here.
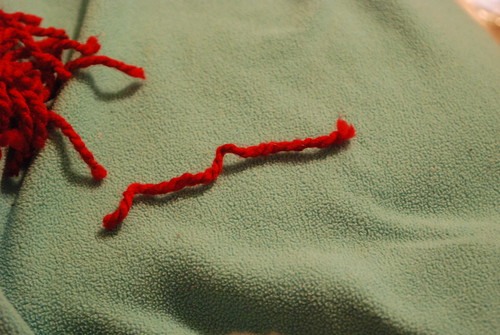
First, cut your yarn into about 40 (more or less depending on fullness and size of hat) 6 inch peices. I just wrapped it around my hand and cut. It doesn't need to be exact because you'll trim it later.
To make sure you're mohawk isn't crooked, fold your hat in half like so...
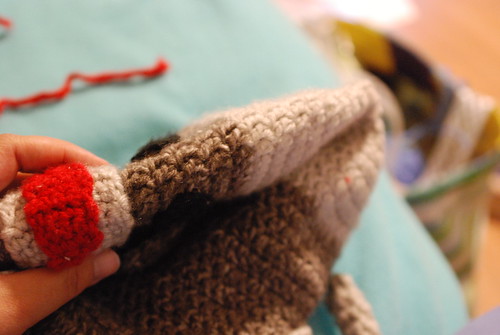
During the process, you'll want to make sure you check that you're not straying... it's easy to do.
You will insert your hook behind the post of a crochet stitch along the fold.
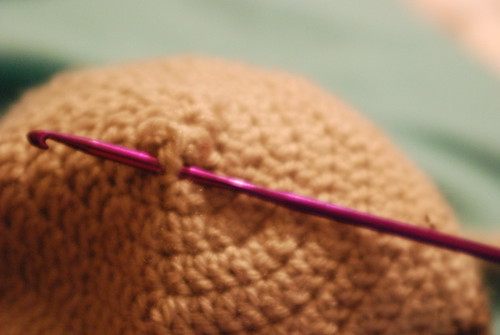
Fold your yarn in half and pull it through the stitch, making a loop.
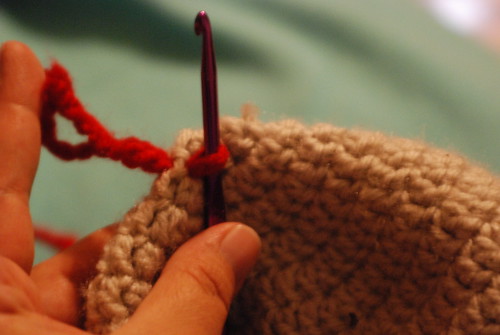
Wrap the strands around the hook
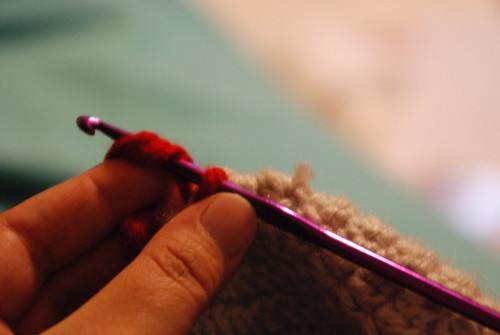
And pull it through the loop, and tighten.

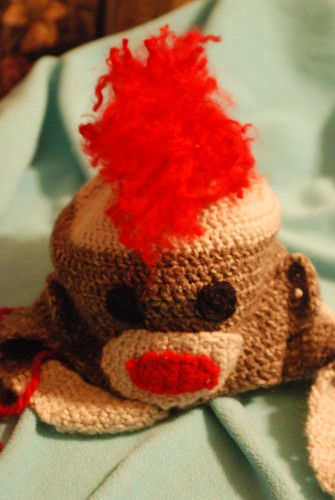
For my hat, I did two per row, stopping about 2 rows before the end of the taupe section of the hat. That's it... super easy.
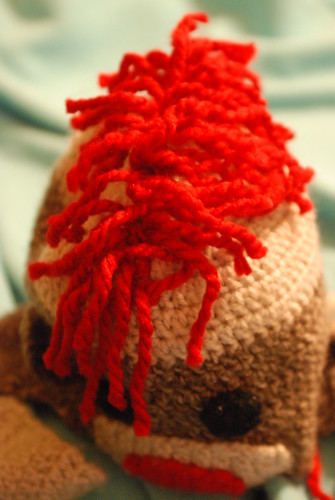
If you like how this looks, just give him a little trim and you're finished. But... you could always pull apart the strands of the bulky yarn to give him a little kink to his mohawk...
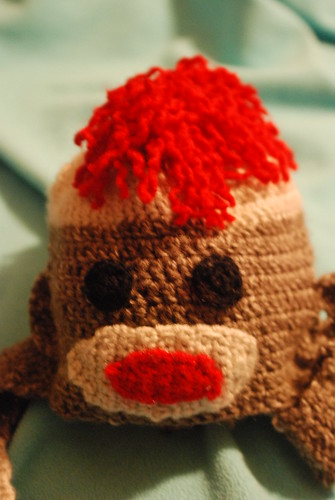
You can also take an old hairbrush and brush the yarn (gently), giving him a really wild look.
Just take heed and use an old hairbrush that you don't normally use, or you could have red yarn fluff in your hair tomorrow...
And another little reminder: if you are making this for a baby or small child, the yarn could pose a choking hazard if it were to come loose (as would a pompom or tassels, etc.), so do use under supervision with small children. But you knew that already. =)
If you have any questions, just let me know and I'll do my best to clarify! Now go get punky!
Cool!
ReplyDeleteJennifer - Thank you so much!
ReplyDelete