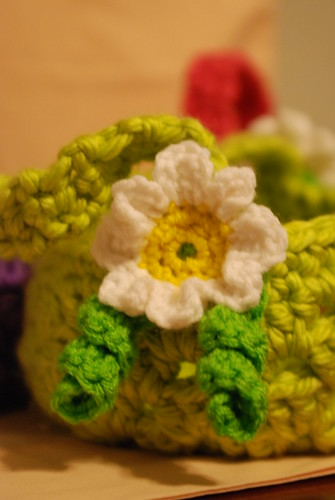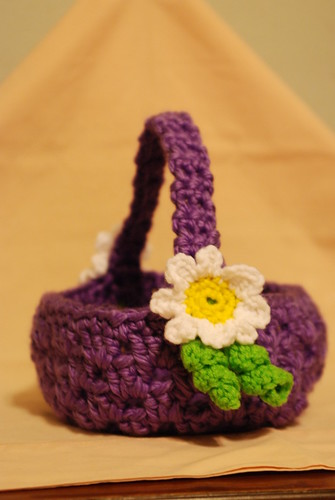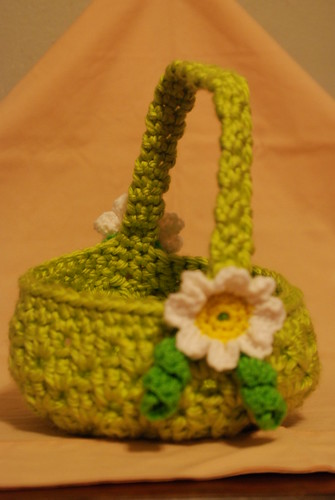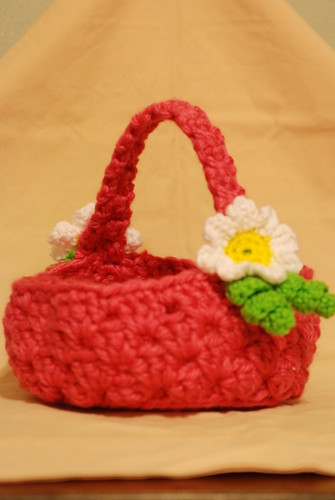
Last year,
I made fabric Easter baskets for the girls. The intention was to have something special they'd use forever. But they turned out much, much, MUCH too big to be really practical. And I kinda have fallen out of love with the color scheme. And somehow some fabric scraps and my in-progress Babette blanket seem to have taken up residence in them. I could have just taken the stuff out of them for a few days to use them, but I just really wanted to make them something else. I had seen a few things that I had considered making that would work or could be adapted to work, but nothing that I really was happy with.
So I just sat down and made it up using bits and pieces I've learned in all my adventures crocheting.
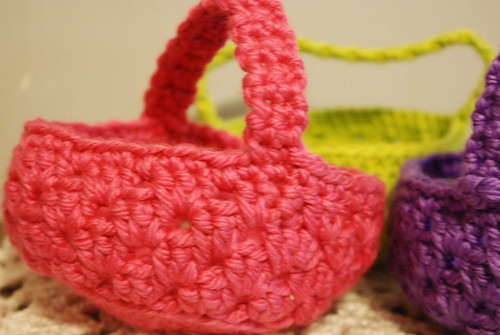
It only took me about 2 hours from start to finish, so I thought it would be something fun to share for anyone who was thinking about crocheting an Easter basket, but had procrastinated. I made all three baskets for my girls in under 24 hours. I used super bulky weight yarn (on the label of most brands is a picture of a skein of yarn with a number on it... you're looking for a 6), which worked great for two reasons: It worked up super fast and it makes the basket a little bit stiffer than if I had used worsted weight or even bulky. And nobody wants a floppy basket.
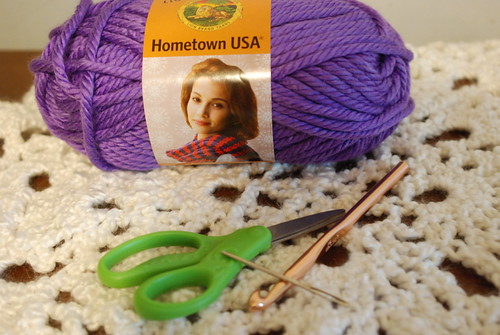 Yes, those are preschool scissors. Shush.
Supplies:
- 1 skein super bulky weight yarn (approx. 81 yards) *
- N hook **
- Yarn needle
* I only needed one skein per basket, but depending on your personal tension as a crocheter, you might need more. Plus, the yardage on a skein of yarn tends to be approximate. I used Lion Brand Hometown USA and used almost every inch of it.
** If you generally crochet pretty loose, you may want to go down a size. You need your stitches to be tight to avoid having a really floppy basket.
Row 1) 6 sc in a magic ring and join with sl st in first sc OR ch 4 and join in the 4th ch from hook and 6 sc in the loop and join with sl st in first sc (6sc)
Row 2) ch 1, 2 sc in each sc around, join in first sc with sl st (12 sc)
Row 3) ch 1, *sc, 2 sc in next sc* repeat around, join in first sc with sl st (18 sc)
Row 4) ch 1, *sc x 2, 2 sc in next* repeat around, join in first sc with sl st (24 sc)
Row 5) ch 1, *sc x 3, 2 sc in next* repeat around, join in first sc with sl st (30 sc)
Row 6) ch 1, *sc x 4, 2 sc in next* repeat around, join in first sc with sl st (36 sc)
Row 7) ch 1, *sc x 5, 2 sc in next* repeat around, join in first sc with sl st (42 sc)
Row 8) ch 1, *sc x 6, 2 sc in next* repeat around, join in first sc with sl st (48 sc)
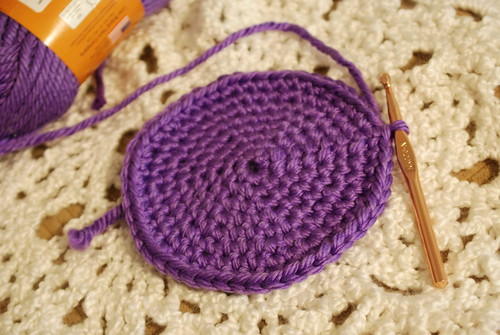
Row 9) ch 1, sl st in
BACK LOOPS ONLY around, join in first sl st with sl st (48 sl st)
(this puts a more definite break between the base and the sides)
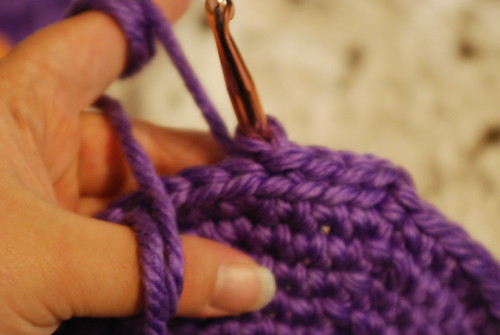
Now we will begin the sides of the basket.
Row 10) ch 3, 2 dc in same stitch, skip 2, *3 dc in same stitch, skip 2* repeat around, join in the top of the ch 3 with sl st (16 dc clusters)
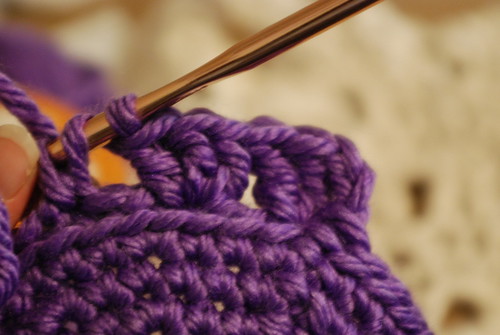
Row 11) sl st to the space between the first and second dc cluster in previous row, ch 3, 2 dc in the sp, *3 dc in next dc cluster space* repeat around, join in the top of the ch 3 with sl st (16 dc clusters)
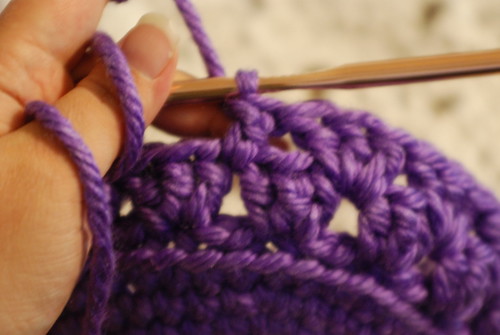
Row 12 -13) Repeat row 11
Row 14) ch 1, * sc 2, sc in space between dc clusters* repeat around, join in first sc with sl st (48 sc)
Handle) ch 1, sc 2, ch1 and turn - repeat until you reach your desired length or are close to running out of yarn. Attach handle to the other side by either finishing off and sewing it on or you can slip stitch into the stitches where you want it attached. I don't know how to really explain this, so if you know what I'm talking about, great, if not... it's just as easy to sew it on.
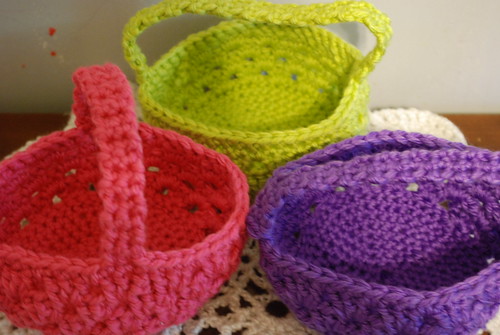
Weave in your tails, stuff with Easter grass (or green tissue paper... I prefer that myself) and candy and eggs!
I have plans to embellish these a little with probably some felt roses and I need to put name tags on them because Iz and Zo need to take theirs to school Wednesday for their school egg hunt.
