I've seen several ways to actually make ear flaps and, for me, my technique is easiest. I hope you think it's pretty simple, too.
Again, I was working on a zebra hat, so that's what you'll see here. The same directions apply to any hat you're adding ear flaps too, sock monkeys or whatever.
You will begin with your finished beanie. Fold it in half with the seam running up the back of the hat and mark the stitch in the crease, like so, with some scrap yarn.
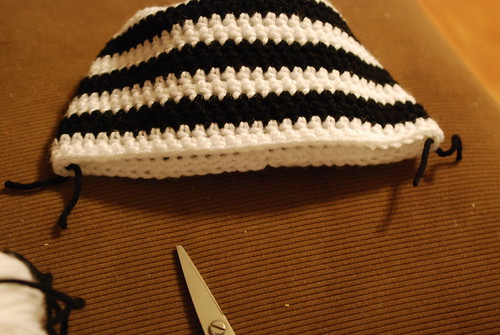
Alternatively, you can also count, of course. I get distracted too easily, so this is easier
Decide how wide you want your ear flaps. For a child-sized beanie, which usually have 60 stitches in the last rows, I go with 13 stitches. For adult sizes, I bump it up to 15 or 17. I prefer odd numbers to start with, and you'll see why in a second, but it really doesn't matter. For this tutorial, I'm going to go with 13.
So, find one of your marked stitches. Count 6 stitches to the right and attach your yarn. (This is why I prefer odd numbers, so the marked stitch is the middle number and there is an equal number on either side of it, but that may just be a touch of OCD talking.)
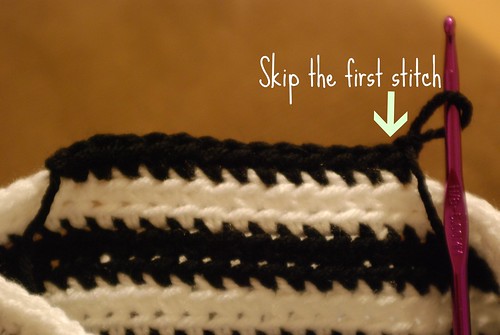
Ch 1, HDC in the next 13 stitches. Ch 1, turn
When you begin each row from here on out, you will skip the first stitch to decrease. You could just do a decrease stitch, but I think it looks just fine skipping the first stitch.
You will decrease a stitch on each row until you get to a row with just 6 stitches. Finish off and weave in the ends.
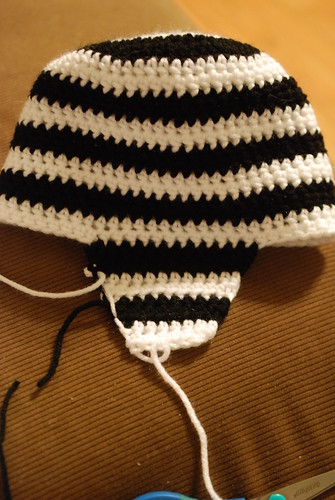
If you are doing two or more colors, it's OK to just run the yarn up the sides when you switch colors. Then I suggest doing a row of HDC around the entire hat, just to smooth out the egdes. I don't usually do this with sock monkey hats, because I'm not switching colors, but it's a nice finishing touch. Finish off and weave in your ends. Next we will make the tassel.
I used a bulky yarn and used 6 strands per tassel. You will probably want to use 12 per tassel of worsted weight. The length will vary depending on how long you want. You want it about 2 1/2 times the desired finished length. Tie a piece (or two if worsted) of yarn into each of the six bottom row stitches.
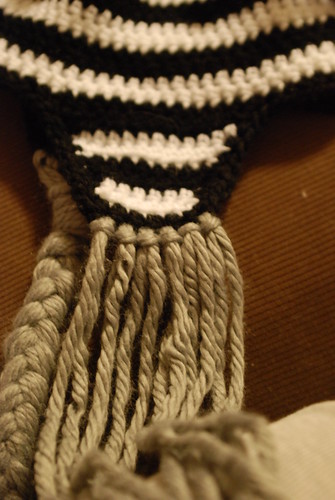
Tie a knot into the tassel close to the earflap, like so.
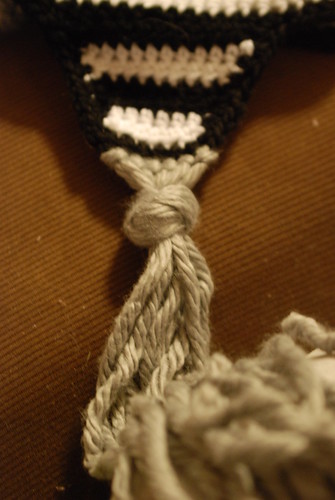
I then braid the strands and tie a knot at the bottom.

You can trim the ends to be even. The knots can be a little tricky to get even, just remember to leave them loose until you get them into a good spot and then tighten them - and tighten them well. =)
There you go.... ear flaps for your hat! Like I said, you can use this on sock monkey hats, or just about any other hat that would benefit from ear flaps. Make them solid or multi-colored. Make the tassels solid or multi-colored. Just experiment and have fun.
If you have any questions, please feel free to send them my way! I tried to be as clear as possible, and I think it's a pretty simple process, but sometimes I confuse even myself.
I have never made an earflap hat! This is so cool. I adore the tassels. I think my girls may need one of these. Pinning this now so I don't loose track of it. Happy weekend Jennifer!
ReplyDelete